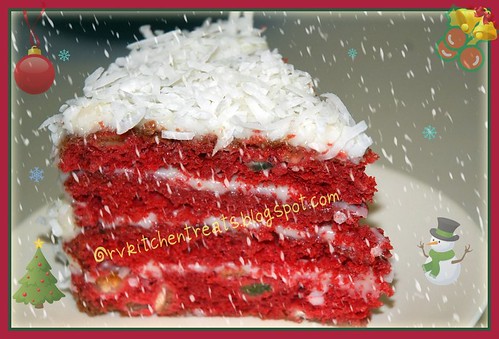
The fiery red color of this cake was the reason I got fixated on making it from the time I saw it on one of the websites where it was made for Daring Baker's Challenge. I do not remember the website. I then saw it on TV , where it was made by Paula Deen. It was a long time back. But every time, I would forget or keep it for a later time. This time I saw this recipe on
Joyofbaking which is my favourite site when it comes to Baking. The author at
Joyofbaking explains why this cake is also called Devil's Food cake : "
A Red Velvet Cake is really a Devil's Food Cake that has red food coloring added to it. John Mariani tells us in his book "The Dictionary of American Food and Drink" that the name 'Devil's Food Cake' is so called "because it is supposedly so rich and delicious that it must, to a moralist, be somewhat sinful." 
I made up my mind and decided that its high time I made this cake. I followed the exact recipe, except for the addition of fruit peel mix to the cake batter and a different recipe for the Frosting. The color of the cake amazed me and the final appearance of the cake , especially after cutting the slice was even more amazing! Of course, my tiny bottle of red color got over after I opened it for the first time after I purchased it, as the recipe calls for 2 tablespoons of red color. I used the "safe to use color" brand of food color.
The completed cake was moist. Since I added the rum soaked fruits, the cake was tasting better the next day and the next. If you plan to frost and decorate, the cake needs to be consumed within 2 -3 days of preparing. If you are planning to just make a bright red fruit cake :) , you might want to leave the cake covered in plastic on your kitchen counter top for 5 days, as the taste will increase day by day :)
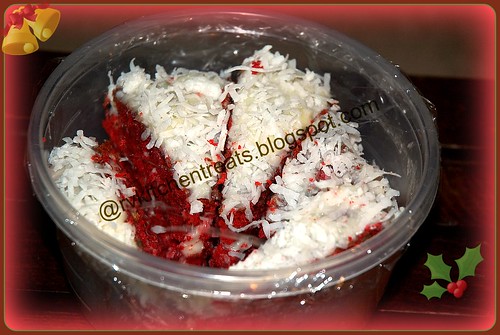
The amount of cake was a lot, so I found it the perfect time to share it with my neighbours in the apartment :) . You may visit
Joyofbaking website for the original recipe
Here goes my version of the recipe:
Ingredients:
----------------------
For the Red Velvet Fruit Cake:
2 1/2 cups sifted cake flour (If you don't have cake flour,
follow this link which gives an easy way for substituting cake flour )
1 teaspoon baking powder
1/2 teaspoon salt
2 tablespoons Cocoa powder
1/2 cup unsalted butter, at room temperature
1 1/2 cups granulated white sugar
Rum soaked fruit peels (the original recipe doesn't call for Fruit peels, but I had a lot of these fruit peels left, hence I decided to use it up. Its optional though)
2 large eggs
1 teaspoon pure vanilla extract
1 cup buttermilk
2 tablespoons liquid red food coloring
1 teaspoon white distilled vinegar
1 teaspoon baking soda
Sweetened dessicated Coconut for topping
For the Coconut- Cream Cheese frosting:
1 packet (8 oz) (227 grams) (1-8 ounce) Cream cheese at room temperature
1/2 cup (8 tablespoons) unsalted butter at room temperature
1 tablespoon vanilla extract
1 cup powdered sugar
1/2 cup sweetened dessicated coconut
Method:
For the Red Velvet Fruit Cake:
Preheat oven to 350 degrees F (175 degrees C) and place rack in center of oven. Butter and flour two same size round cake pans (I used the aluminium foil pie pans (Hefty brand) and line the bottoms of the pans with parchment paper (grease the parchment paper too). Set aside.
In a mixing bowl sift together flour (half of the flour), baking powder, salt, and cocoa powder. Set aside.
Beat the butter until soft (about 1-2 minutes)(I used my hand, you may use a electric mixer, hand mixer). Add the sugar and beat until light and fluffy (about 2-3 minutes). Add the eggs, one at a time, beating well after each addition. Add the vanilla extract and beat until combined.
Mix the buttermilk with the red food coloring. Using your hand, or with the mixer on low speed, Alternately add the flour mixture and buttermilk, in three additions, beginning and ending with the flour.
Combine the rest half of the flour with the fruit peels, toss them lightly until well coated (This helps the even distribution of the fruit peels in the cake batter) and mix it with the cake batter.
The next 2 steps requires some fastness:
1) In a small cup combine the vinegar and baking soda. Allow the mixture to fizz and then quickly fold into the cake batter.
2) Working quickly, divide the batter evenly between the two prepared pans and smooth the tops with the back of a spoon.
Bake in the preheated oven for approximately 25 - 30 minutes, or until a toothpick inserted in the center of the cakes comes out clean.

Cool the cakes in their pans on a wire rack for 20 minutes. Then invert the cake and place each cake in a different plate and cover the cake with plastic and refrigerate at least for 2 hours. This is to help frost the cake layers better when it is cool. I frosted the cakes the next day.
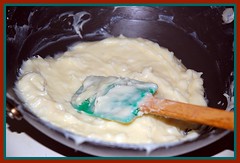
For the Coconut Cream Cheese Frosting:
Beat the butter and Cream Cheese until well combines and soft. Then add the sugar and combine well until fluffy. Add the coconut. Mix well.
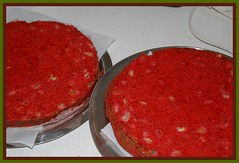
Assembling the cake:
First cut each cake layer further into two horizontally, with a knife. Now you will have 4 cake layers.
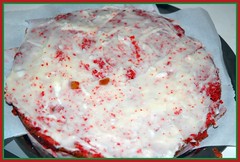
In a serving plate, place parchment paper to cover the top of the plate. This is to ensure a clean appearance of the cake in the serving plate without the mess of the frosting as the parchment paper can be removed once the cake is frosted and decorated.
Then place one cake of the cake layer, top of the cake facing down, on the serving plate. Frost the cake's top surface with the frosting. Then add another cake layer in the same way on top of frosted cake and continue frosting this cake (meanwhile lightly frost the sides of the cake too with the excess frosting on the top)
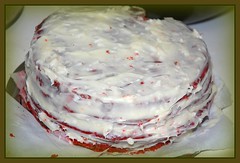
Repeat the above process for the rest of the layers until all the layers are frosted and stacked. Frost the sides of the cake if they are not properly frosted.

Cover the cake with sweetened coconut.
This makes a 4 layer cake.
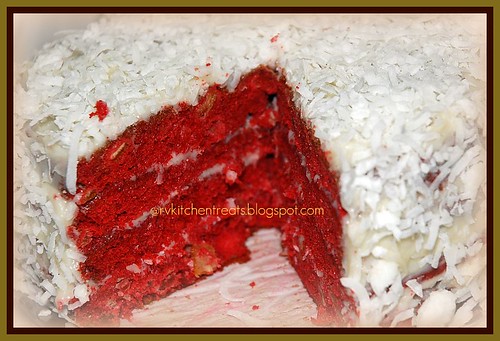
Slice and serve.
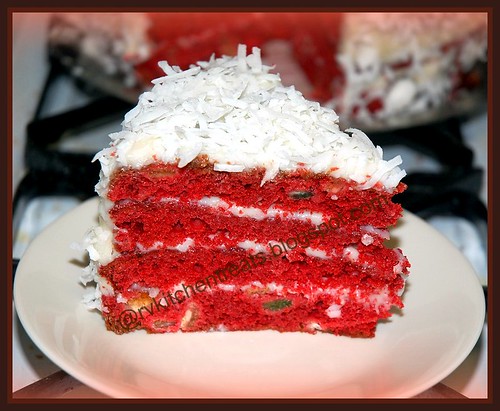
Wish you all a Merry Christmas in advance and Happy holidays !!
I am sending this to:
 JZ's Santa's Holiday Challenge Event
 My Kitchen Treasures's Homemade Christmas Gift Event
 Purva Daawat's Christmas Feast EventManinas's Eating with the seasons: December event
I am also sending this to
(Food In Color)FIC-WHITE event started by
Sunshinemom of ToungueTicklers and hosted by
Yummy Food .