Sprouted lentils are a common ingredient in diet foods. These are used in salads, soups, curries etc.. These are good sources of dietary fibre. The first time I learned and saw about sprouted moong was from my mom. My mom is very particular when it concerns our health. Till date, I have her golden advices about health related topics. She used to make sprouted moong and I on the other hand had a fascination to eat the raw sprouted moong. She somehow was not found of the raw taste, nor did my brother. But she liked the fact that I used to eat the raw ones as they are very healthy. I was also very fascinated when I saw the sprouts coming out of the moong dal. Those days, she used to wake me up telling, "Don't you want to see what happened to the moong dal you soaked in water?" and I would eagerly come to the kitchen rubbing my eyes......Missing those days now.....Now to add to my surprises and my happiness, my husband also loves sprouted moong. In fact he prepares it himself. And like me, early morning, he checks what happened to the moong, as if they were his kids :), so cute. I made this curry with green moong which is a favorite of my husbands, and so is mine. We in konkani call it "kirlailene moogache ummaan" ...long name huh? :) ....lemme share the recipe now.
Ingredients:
-----------------
Green Moong dal: 1 cup
Water for soaking
For curry:
----------------
*Potato: 2 medium sized
Mustard seeds: 1 teaspoon
Tomato: 1 medium sized
Curry leaves: a few
Green chilli: 2 - 3 nos
Coriander powder: 1/2 teaspoon
Cumin seeds: 1 teaspoon
Ginger: 1 small piece
Salt
Oil
Method:
-------------
- Soak overnight green moong in water
- The next day drain the water and leave it until all the sprouts come out. It might take a few more hours
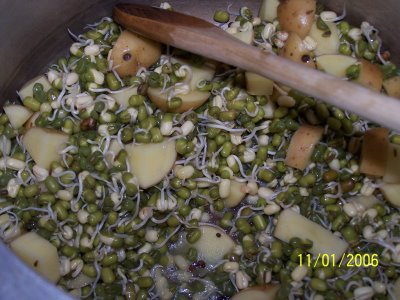
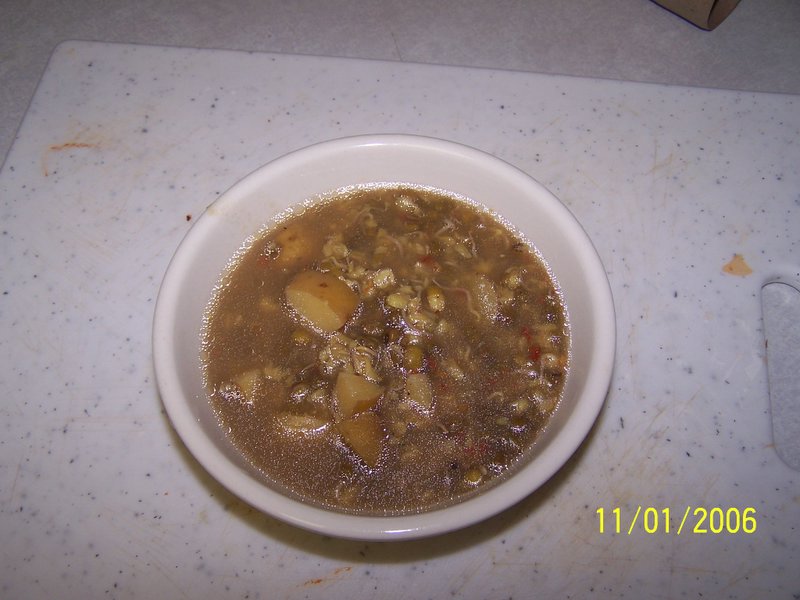
- When all the sprouts come out, it is time to make the curry. Heat one tablespoon of oil in a pressure cooker. Chop the vegetables. Add all the curry items. Mix them well.
- Add the sprouted moong dal and stir again.
- Add sufficient water for cooking in the pressure cooker
- Cook for 1 - 2 whistles
- Serve along with rice, or chappathi
* People who are diet conscious can avoid potato if they do not want it in the curry. I add it because my husband loves the taste of small pieces of potatoes in this curry. Its worth adding it if you want.


 This is a dosa variety which is enjoyed by many. My mom would make this as a special breakfast on Sundays. I fondly remember me, brother, and my dad relishing taste of this dosa while watching Mahabharat serial on Sunday mornings :) ...it tasted so good as my mom used to make it very crispy. After marriage, it took me a while to know the exact way to prepare crispy and tasty dosas. Thanks to my husband who never complained about my previous versions of dosas :)) So here , after many r&ds , I am sharing with you what I learned about preparing good dosas in this recipe for onion utthappam. You can make it in the comfort of your own home rather than spending a lot in restaurants. So here is the recipe.
Ingredients:
--------------
Urad dal: 3/4th cup
White rice: 2 cups
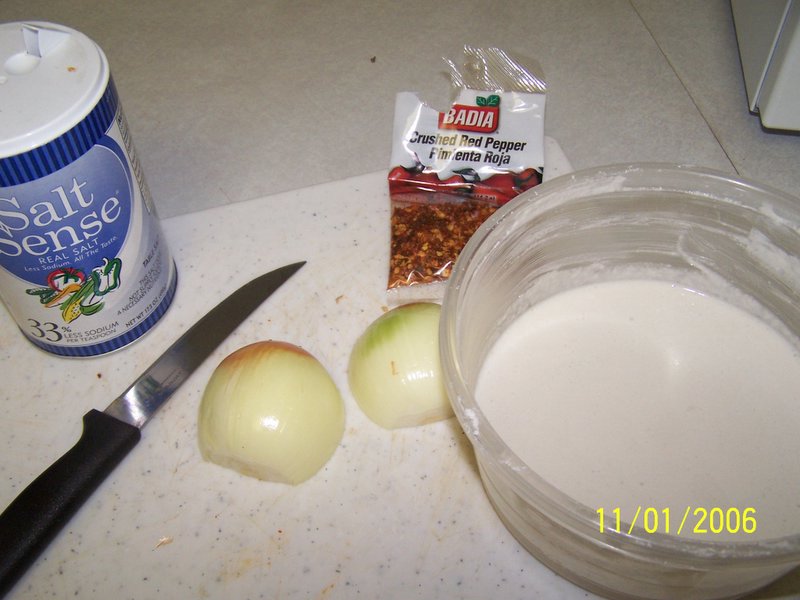
Onion: 2 nos
Green chilly: 3-4nos Sprouted green moong (optional)
Salt
Oil
Method:
-----------
- Soak urad dal and rice separately in lots of water for 4-5 hours
- After that, grind urad dal with a little water (the water should just cover the urad dal when you grind it in a mixer (I dont have a grinder. So I grind with mixer (blender)). The water that was used to soak urad dal can be used here. Make sure that you grind it part by part, so that the mixer is not overloaded and this also ensures that the urad dal is well ground.
- Transfer the contents after grinding to a large vessel (large enough for the fermentation to take place).
- Grind the white rice part by part with the same amount of water as was used to grind urad dal. The water used to soak the white rice can be used while grinding.
- Transfer the contents after grinding to the same vessel in which the ground urad dal was transferred.
- Mix both the ground contents very well until a few bubbles start appearing
- Add 1 teaspoon of salt and mix it well again
- Cover the vessel and leave a little vent.
- If you are in India (or in a tropical area), there is nothing to worry about the fermentation process. So you can just leave the batter overnight for fermenting at room temperature itself.
- If you are residing in a colder area, you may ferment the batter inside an oven. Preheat the oven to 250 degrees F. Switch off the oven when the oven indicator light turns off the first time. Leave the oven door open for around 2 to 3 minutes. Transfer the vessel with the dosa batter into the oven. Wait for another minute before closing the oven door.
- After closing the oven door, if you have a oven light, switch it on and let it remain that way overnight. This is a good idea as the warmth of the light can help the fermentation process even after the oven temperature gets colder. The fermentation may take place properly by the next day afternoon.
- After making sure that the fermentation process is done, mix the batter a little.
- Transfer it to the fridge if you are not making dosas immediately.
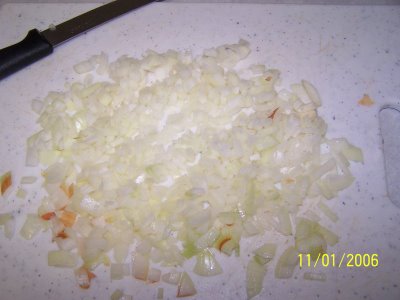
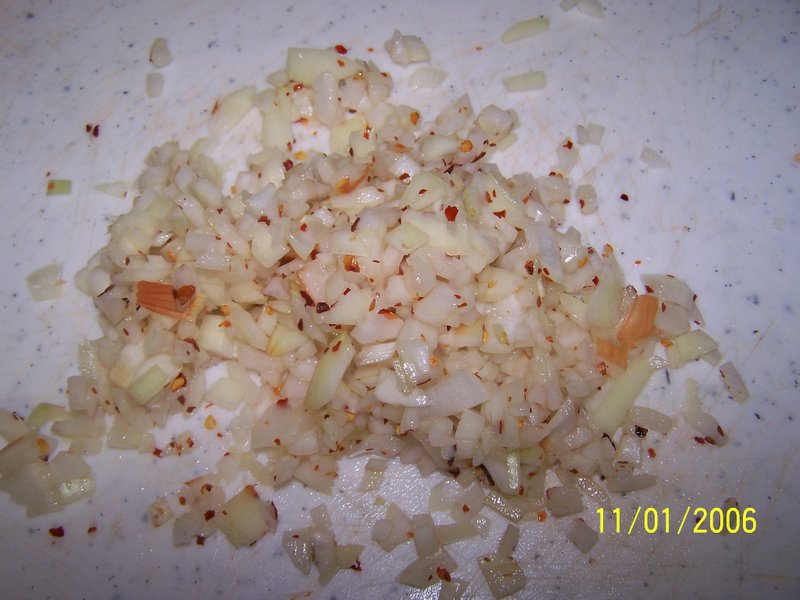
- To make utthappam, cut onions into very small pieces. Mince green chilly to very small pieces. Mix onions and chillies with a little salt. Also have the sprouted moong dal ready.
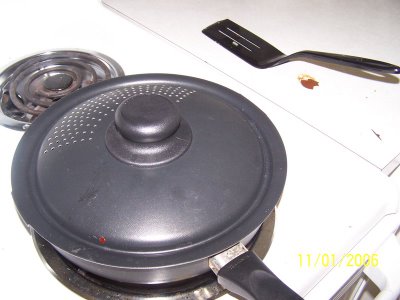
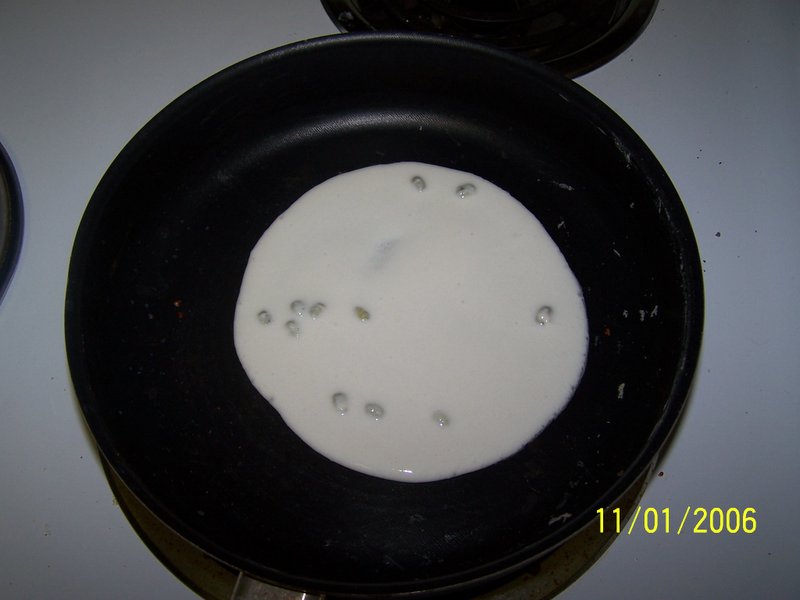
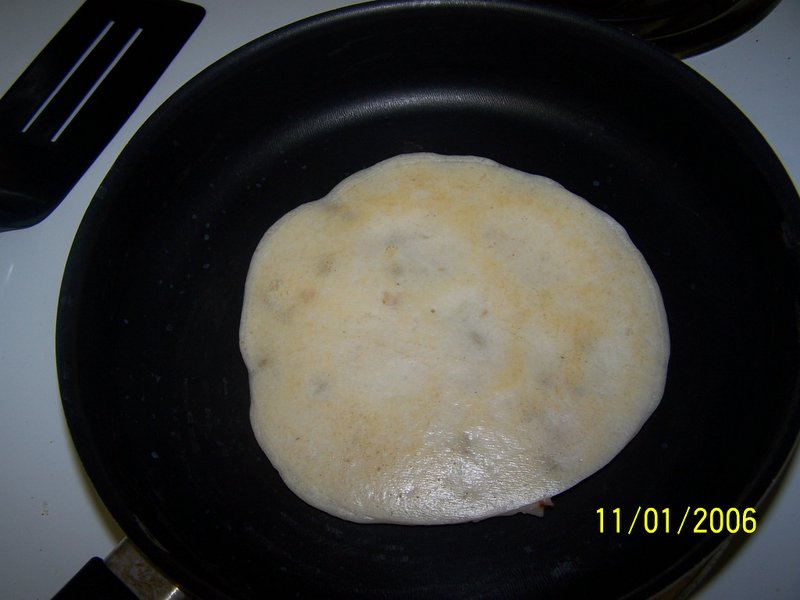
- On low fire, spread a teaspoon of oil on the tawa, pour one ladleful full of batter and spread it evenly . Do not make the concentric circle as you would make for usual dosa. Just make sure that the round shape of dosa is retained. Let there be a little thickness.
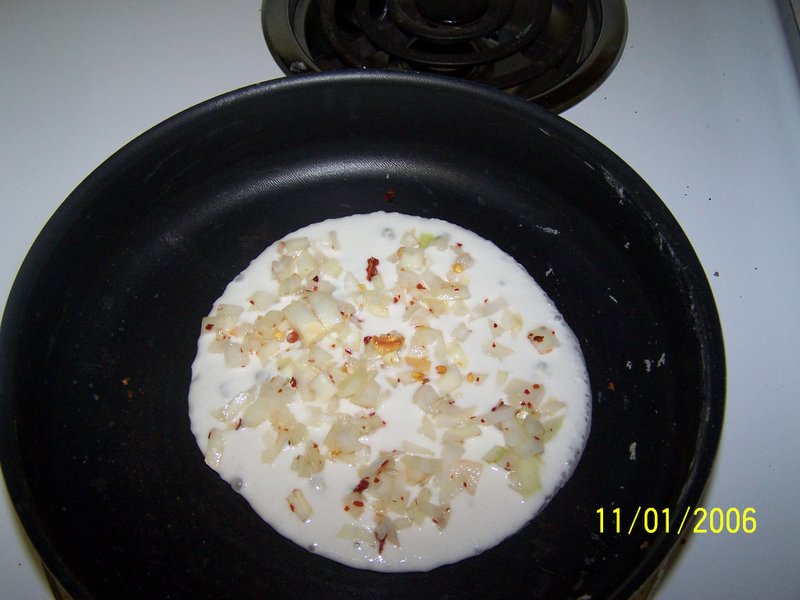
- Add the onion - chilly mixture and sprouted moong dal evenly on the dosa.
- Turn the fire to high. Cover the tawa with a plate. Let it cook for 2 minutes or until you can see that the dosa is fully done on the edges and half done on the top.
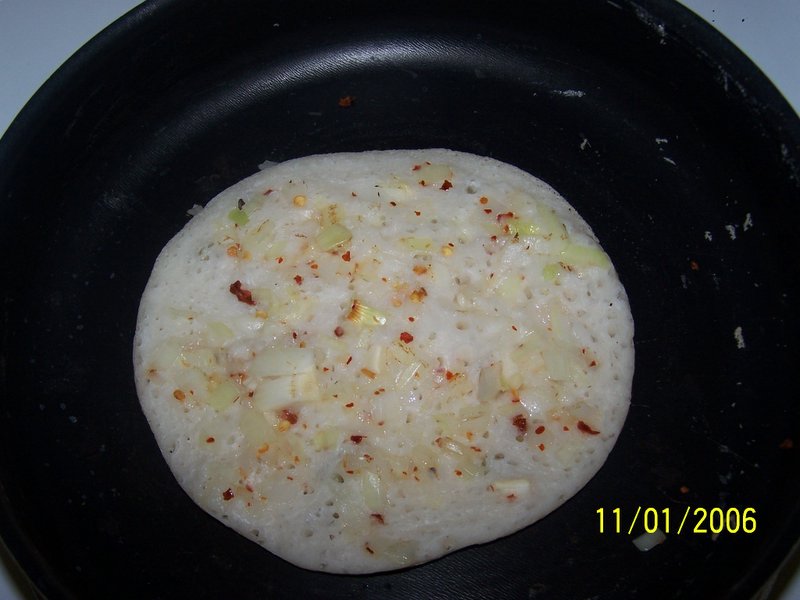
- Flip the dosa very carefully to avoid the uncooked batter from breaking the dosa.
- Do not cover the tawa anymore. Keep the fire medium. Wait for another 2 minutes, before transferring it to a plate. Keep the fire low before making the next dosa. This is important as a very hot tawa makes it difficult to spread dosa batter with the ladle. So wait for 2 minutes until the tawa is not so hot.
- While making the usual dosas, the fire can be lowered once you flip the dosa. So that you need not wait until the tawa cools down a bit after you tranfer the dosa to a plate.
- Serve with sambhar, or coconut chutney
Please do not copy
All contents in this blog cannot be copied without written permission from the blog author.


