Thursday, October 19, 2006

Rice Kheer


Diwali season is come and this time, its a special diwali for me and my hubby as its our first diwali after marriage. So I thought I should prepare something special but not so complicated as I want it to be perfect. I immedietly think of Rice Kheer or otherwise called Ari Payasam in Malayalam. So let me share with you the most basic form of sweet item yet relished by many for Diwali and other festive occasion, which is one and only Rice Kheer. This is made in a slightly different way though.


Ingredients:

-----------------


Rice (Preferably broken rice or white rice or brown basmati rice): 1 cup

Ghee

Milk: 2 cups

Condensed milk (optional): 1/2 cup

Sugar: 1 cup (add more if you want it more sweet)

Cardamom powder or seeds: 1 teaspoon

Cashewnut : 3 0r 4 nos

Raisin: 3 or 4

Nutmeg powder (jaiphal , optional): 1/teaspoon

Saffron strands (optional): 2 or 3 nos


Method:

-------------


  1. In a vessel, heat ghee and fry the rice for 4 - minutes on low fire. This is to prevent the rice from sticking or becoming a paste when it is cooked, and also for taste enhancement.

  2. Let it cool. Then soak it in water for 3 - 4 hours.

  3. Drain the water completly. Wipe off excess water using a dry cloth.

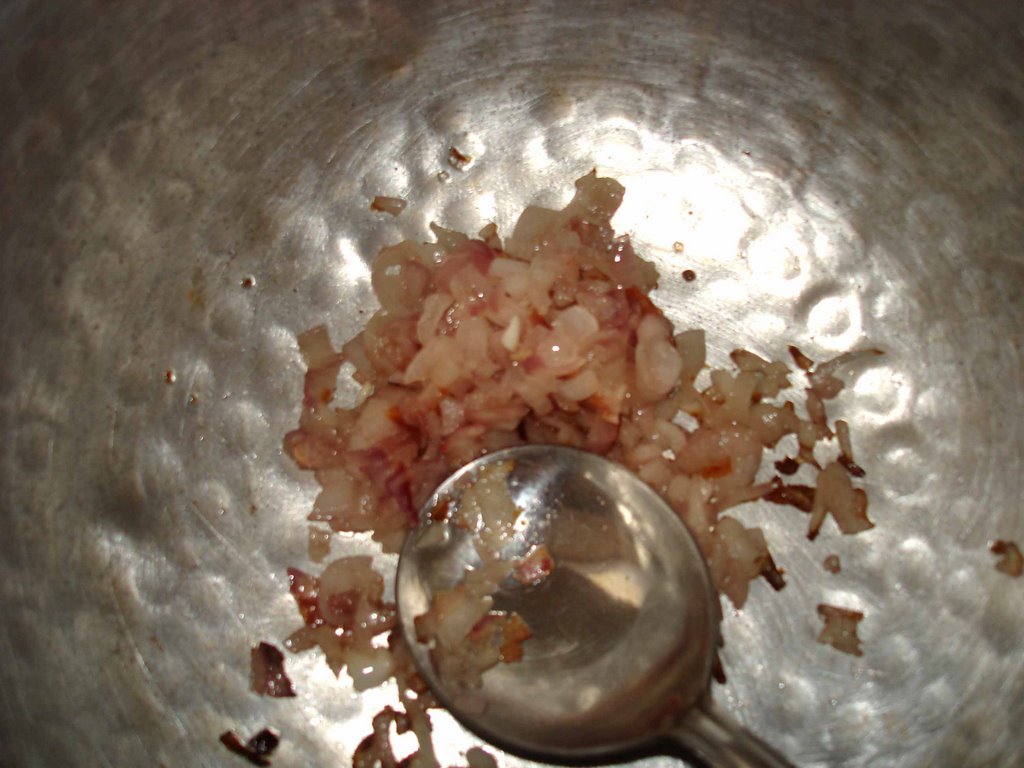
  4. Grind this rice until it is powdery. Do not use water for grinding. As the rice was soaked in water, it will not be as hard as raw rice. So make sure the rice is just powdered and not becomes a paste.

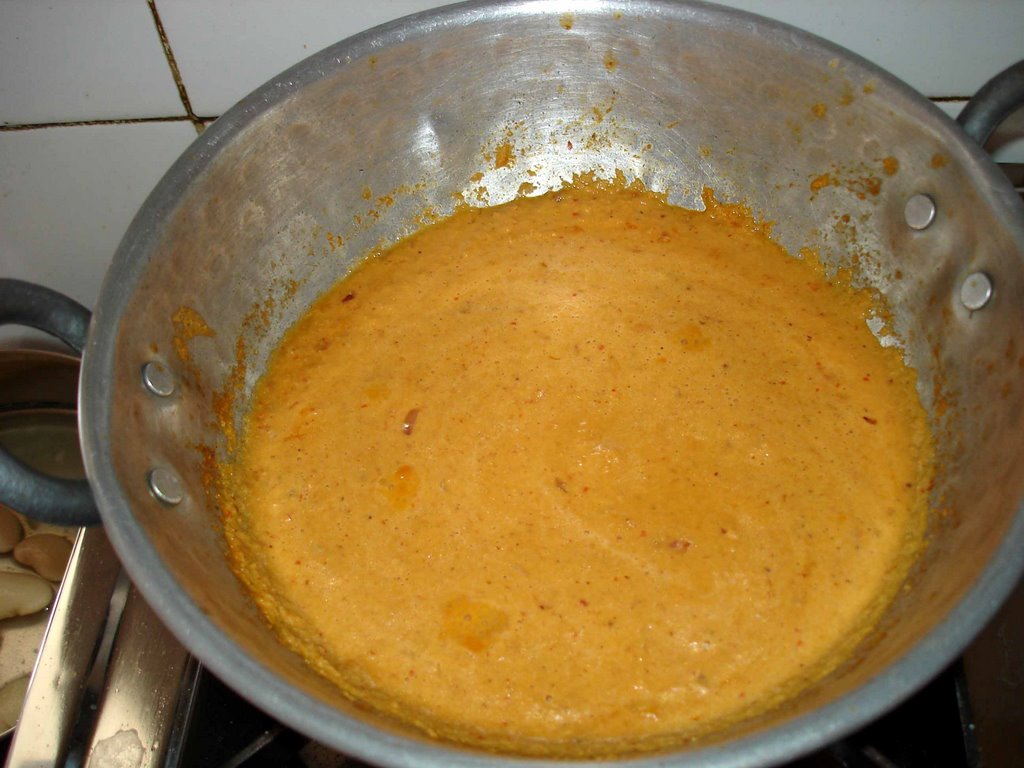
  5. In another vessel, add milk and bring it to a boil. Then add the powdered rice and let it cook on medium fire. Stir in between to confirm that the rice is cooked, and also to prevent the rice from sticking to the bottom of the vessel.

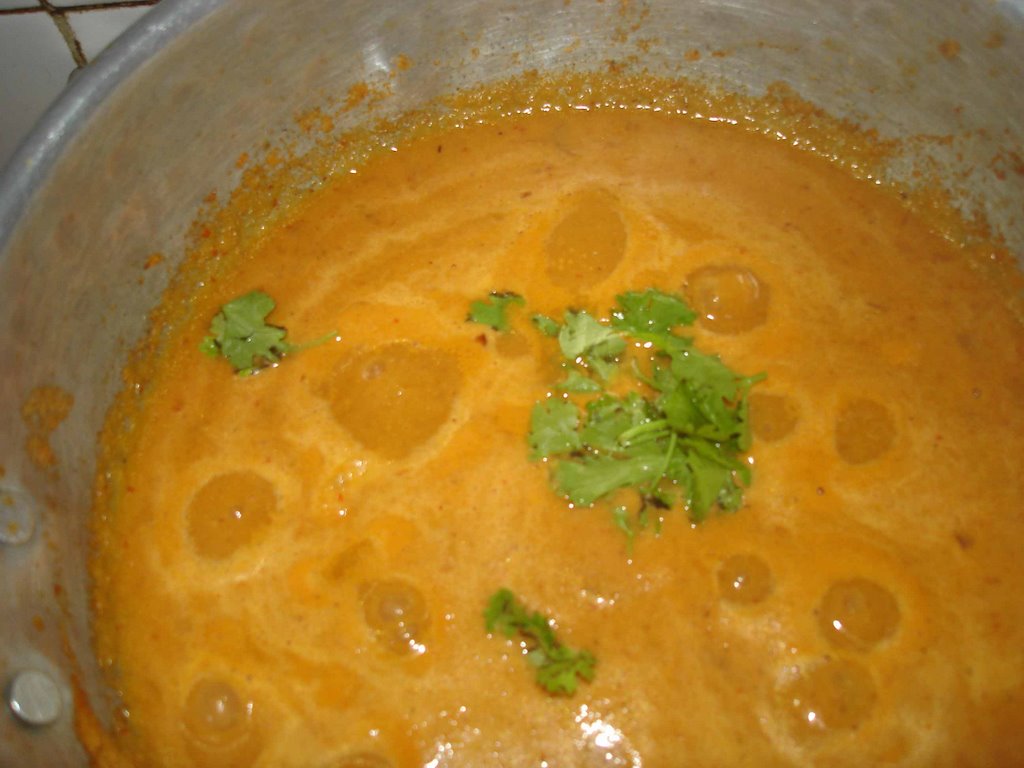
  6. When the rice is cooked, add the sugar, condensed milk, cardamom, nutmeg powder, and saffron strands and stir again and cook for another 4-5 minutes.

  7. In a pan, heat a little ghee, and add cashewnuts and raisins and fry until the raw taste is gone and also so that it absorbs the taste of the ghee. Add cashewnuts to the kheer. In a little water add raisins and wait until the raisin bulges a little because of the water content in it. Add it to the kheer without the left over water in which it was soaked and stir uniformly.

  8. Can be served hot or chilled


Happy Diwali to one and all!!

Ambat (Konkani side dish)


Recently I had been pestering my friend, who is a Mangalorean, to send me some of her recipes. So she send me this typical konkani dish called Ambat which is prepared in Mangalore. Ambat is a konkani dish which is a main item in konkani temples during a festival or marriage feast. It has different varieties depending on the ingredients used. Sometimes ambat is prepared using ripe bananas in some parts of kerala, and sometimes using pulses. Here I am including the ambat prepared using white kidney beans. Hope you enjoy the dish.

Ingredients:
-----------------
  1. White kidney beans (Large ones): 1 small glass full
  2. Tomato : 1 no
  3. Onion: 1 no
  4. Potato: 1 no
  5. Grated Coconut: 1/4 if medium sized and 1/2 if small
  6. Red chilli: 3-4 nos depending on the spicy taste you want
  7. Tamarind : a small ball soaked in water
  8. Oil
  9. Salt
  10. Coriander leaves for garnish
Method:
  1. Soak the beans overnite.
  2. Peel the potatoes and slice them into very thin slices and cook them along with the beans in the pressure cooker for 3 whistles.
  3. Grind coconut, red chilli, and tamarind until it forms a smooth paste.
  4. Slice the tomatoes or make a tomato puree in the blender
  5. Heat a little oil in a kadai and saute the onions until they turn golden brown
  6. Add the tomatoes or puree and fry for around 20 seconds
  7. Add cooked beans and potatoes
  8. Add the coconut paste in step 3, add some water for gravy
  9. Add salt and cook until the raw smell of coconut paste is gone.
  10. Garnish with coriander leaves.
  11. Serve along with rice
Its easy to make and might take approximately 1/2 hour.

Wednesday, October 18, 2006

Samosa


This snack is loved by one and all in India. Infact its become very popular abroad too. Though the method of preparing and the ingredients used in samosa is not the best choice for health conscious people, the mere mention of the name "Samosa" makes everyone's mouth water. Its so easy to make and yet tasty (though its a bit time consuming) ......I had prepared for our friends who came to our house an evening with their 3 and 5 year old kids. Both the kids loved it. Especially the yougest one who always used to fuss about her food. I was so happy to see that she was actually enjoying my samosa:) ....and so did the others.
Enough with my story,....let me share it with you too....

Ingredients:
----------------
For the dough:

Flour ( All purpose flour, or Maida flour, or Wheat flour)
Salt: a little
Water
Oil for frying

For the filling:

Mashed potatoes - 2 or 3 potatoes
Finely chopped onions: 2 cups
Green peas: 1 cup
Finely chopped green beans: 1 cup
Finely chopped carrots: 1 cup
Minced garlic and ginger (you may use ginger garlic paste too): 1/4 th cup
Finely chopped tomatoes (can use tomato sauce also): 1/2 cup
Coriander powder: 1 tsp
Cumin seeds: 2 tsp
Mustard seeds: 2 tsp
Minced green chilli: 1 tbsp
Chilli powder: 1 tsp
Pepper powder (optional): 1 tsp
Garam masala powder (optional): 1/2 tsp
Curry leaves chopped: 1/2 cup
Coriander leaves for garnishing
Salt

Method:
----------


  1. Make the dough using the ingredients for dough just like making the chappathi dough.


  2. Cover the dough with a damp cloth and place it in a vessel. This helps the dough to not lose moisture.


  3. Make the filling ( it is similar to preparing any dry potato curry) with less or no water by using the above ingredients.


  4. Let the filling mixture cool.


  5. Meanwhile using some dough, make a thin round (say 5'' diameter)


  6. Cut it in half. Place some water along the diameter of each half.


  7. Place some filling in each half and fold the sides of the dough to form a covered cone. Makes two samosas for each roll of dough.


  8. Heat oil for deep frying. Fry the samosas in oil. Make sure not to fry the samosas on high fire as they might turn oily and soggy.


  9. Place the fried ones in a napkin to absorb the excess oil.


  10. Serve along with mint chutney or tomato sauce or tamarind chutney.


Kozhukkatta - a sweet dish


When I was little, dad, mom, me and my brother used to visit the Shiva temple in Ernakulam every Sunday evening. It wouldn't strike me about kozhukatta, until I reached the place where god Ganapathi resides in the same temple. Then my whole concentration while praying would be about kozhukkatta:-) ....This sweet is a typical kerala sweet (I am not sure if they are prepared in other parts of India as well), which is mostly prepared as an offering to Lord Ganapathi as it is his favorite sweet apart from modhak...........and so is mine :-). Whenever I think about kozhukkatta, I remember the taste of the soft white rice balls filled with coconut-jaggery mix....mmm....I feel like preparing some now itself. Though it did not come perfect (especially the dough), the first time I made it, I got to know how to prepare it well the next time. My husband had never eaten this sweet for ages and was very glad that I made this for him. Again I owe thanks to my mom from whom I learned to make it. She used to prepare it specially for me, as I liked this sweet a lot:-) ....Let me share my favorite sweet with you too.

Ingredients:
----------------
To make the dough:

Rice Flour: 1 cup
Water: 2 cups
Salt: a pinch
Oil: 1 tablespoon


For the filling:
----------------
Grated coconut: 2 cups
*Coarsely powdered jaggery: 2 cups

*You may increase or decrease the amount of jaggery according to your taste


Method:
--------------

Lets prepare the filling first as we don't want the dough to cool if it were to be prepared first.

Filling:


  1. Add a little water (just enough to make a solution of water and jaggery) to the powdered jaggery and keep it on low fire, and stir for sometime.

  2. When the jaggery completely dissolves in the water, add the grated coconut. Mix it uniformly for a minute. Take it off from fire.

  3. Allow it to cool.

Dough:


  1. Add a pinch of salt and one tablespoon of oil to 2 cups of water and bring it to a boil in a kadai.

  2. When water starts boiling, add the rice flour , and continuously stir until a smooth dough is formed. Make sure no lumps are formed while stirring. The dough should have the consistency similar to chapatti dough. Take off the fire once the desired consistency is attained.

  3. Spread some oil in the palm of both of your hands. This makes it easy to make balls out of the dough.

  4. Make small balls (lemon sized) using the dough.

  5. Make a depression in each ball (just enough to fill the coconut - jaggery mix), and stuff a small amount of filling in the depression. Make sure to not fill the depression completely with the mixture. Leave some room so that the depression can be closed after it is stuffed.

  6. **After stuffing the filling like this in each ball, place the balls on a idli stand and steam in the cooker (do not place the whistle on the cooker) until the steam coming from the cooker becomes free flowing (say an additional 2 to 3 minutes after the steam starts coming out of the vent of the cooker).

  7. Turn off the fire. Wait for a minute before taking out the cooker lid.

  8. Take out the idli stand and let it cool. Cooling is important as it prevents the kozhukkatta from breaking.

  9. And remember to offer some to Lord Ganapathi first before eating it yourself :)


**You can steam it in any vessel similar to cooker. If you do not have an idli stand, fill the cooker with some water as you would do to make idlis. Place another vessel with a little water (just a 1/4 th cup) in the cooker and cover this vessel with a plate which also fits in the cooker. Arrange the kozhukkatta balls on the plate. Cover the cooker with the lid follow the same instructions above to make kozhukkatta. This method of cooking is similar to what a double boiler does.

Monday, October 16, 2006

Vegetable Fried Rice


Whenever I pass a chinese restaurant, I always get reminded of the aroma of the hot and sour soup and fried rice which I am very fond of. I am always fond of chinese dishes. I also like the fact that chinese dishes have a lot of vegetables even in the non-vegetarian dishes. And unlike the indian restaurants here in US where the dishes are too expensive, the chinese people serve you enough amount of food for the same price to last the next day too. Anyways, I guess Iam going offtrack here....I just wanted to conclude that Vegetable fried rice can be called as a wholesome dish as it has the rice and lots of vegetables which are important source of dietary fibre. Here Iam including the recipe for vegetable fried rice which infact would appear very colorful if you were to include more vegetables.....as usual, you might find that I include a variety of spices, coz Iam a spice lover by nature:-)

Ingredients:
-------------------

Raw rice (preferably Basmati rice): 1 cup
Butter: 1 medium sized cube

Vegetables:

Onion: 2 medium sized nos
Carrot (cut lengthwise or cubes): 1 cup
Green peas: 1 cup
Corn: 1 cup
Green beans (chopped): 1 cup
Tomato (chopped to ver small pieces): 2 tomatoes
Mushroom (optional)(cut in quarters): 1 cup
Capsicum: 2 nos
Crushed Garlic: 3 segments
Minced ginger: 1 tsp
Chopped green chillies: 2 tsp
Coriander leaves: 1 cup

Spices:

Cumin seeds (jeera): 1 tsp
Cloves: 3-4nos
Coriander powder: 1 tsp
Chilli powder: 1 tsp
*Nutmeg powder (optional)(jaiphal or jaathikka in malayalam): 1/2teaspoon
Pepper powder: 1 tsp

*Nutmeg is a spice that has various medicinal values associated with it.

Sauces:

Tomato sauce: 3 tbsp
Soy sauce (optional) : 2 tbsp
Oil
Salt

Method:
-----------


  1. Take a vessel and melt butter in it. While the butter is getting melted, add the basmati rice. Keep stirring until the basmati rice starts turning slight brown. Add 2 cups of water to the vessel and cook the rice until it is just done. Make sure not to overcook the rice, else the rice might become too sticky and the texture of fried rice will not be retained.
  2. After the rice gets cooked, take off fire and let it cool.
  3. In another pan, heat 2 tablespoons of oil. Add cloves, cumin seeds, garlic and ginger and green chilli. Saute for 10 seconds. Then add onion, and mushroom. Saute until onions turn brown and the juices from the mushroom gets out (you will be able to know this as there will be a nice aroma ).
  4. **Add the rest of the vegetables, ie, green peas, carrot, green beans, tomato, capsicum, and corn. Add coriander powder, chilli powder, nutmeg powder, and pepper powder. Stir uniformly to mix the spices with the vegetables. Add the tomato sauce and soy sauce. Mix uniformly. Wait until all the vegetables are tender. Add this to the cooked rice and add salt. Mix the rice and vegetables uniformly.
  5. Garnish with coriander leaves. Serve with raita or vegetable kurma. A glass of jaljeera would serve as a drink along with this.

** Variation: You may make egg fried rice by adding one or eggs at this point and mix everything until the eggs become scrambled.


Friday, October 6, 2006

Baked French Fries


French fries...mmm..who can resist this crispy savory ? :) ....I cant nor can my husband. Recently in television I came across a method to make french fries which doesnt need deep frying. Using the baking process for making french fries is much better than deep frying as it consumes less oil. I tried making it yesterday and it came out just perfect. So here is the way to go about it.

Ingredients:
------------------

Potatoes: 3 medium sized nos
Asafoestida (hing)
Chilli powder
Salt
Oil

Method:
--------------

1. Peel the potatoes one by one and as you peel them, put each one in water after peeling as potatoes oxidise and we need to get rid of the starch content in the potatoes.
2. Cut the potatoes lengthwise with medium thickness. Make sure the slices are not too thin else the slices might burn or become soggy. Put the slices in the same water as you are slicing each potatoes. The water which containes the potatoes becomes white in color because of the release of the starch in the potato. This is important while making french fries as the starch can make the fries soggy.
3. On a cutting board or plate put a paper towel . Arrange the slices on the towel. Take another towel and put it on top of the slices and pat dry.
4. Meanwhile adjust the temperature of the oven at 450 degree F .
5. Transfer the slices into a moisture free vessel. Add ground pepper, chilli powder , asafoetida, and salt. Mix well. Add some oil to coat the slices well and mix well.
6. Whent the oven reaches 450 degrees F, transfer the slices into a oven tray and pur the remaining oil in the vessel which contained the slices on the slices.
7. Bake for 14 - 16 minutes.
8. Serve it with ketchup.

Please do not copy

All contents in this blog cannot be copied without written permission from the blog author.

LinkWithin

Related Posts with Thumbnails
baby