How have you been dealing with the summer? ........Hope all of you had a great Father's day !....I wish I could say that loud, my father passed away three years back , but he still lives in my heart, hence I quietly wished him that day.

I don't know when I started craving for Paneer this summer, but it was worth it, because I learned to make the Paneer which by itself is bland when added to curries/grilled as the flavor does not get into the cheese much, even if they are marinated. I at least wanted it to have a salt taste if not anything else. I came upon the video of Hetal and Anuja of Show Me The Curry fame, when I was just browsing their website. They have indeed done a good job about showing how to make Paneer more tasty. I experimented their method of making spiced Paneer with 1/2 gallon whole milk (8 cups of milk) and 1/4 cup lemon juice and it turned out very good. I didn't have my camera handy then, so could not click any pictures. Yesterday I bought one gallon Whole Milk and made paneer with it and I went one step ahead and grilled it for better storage and also got pretty grill marks on most of the paneer cubes :) . So let me tell you how I made it exactly:
Recipe for Homemade Spiced Paneer
--------------------------------------------
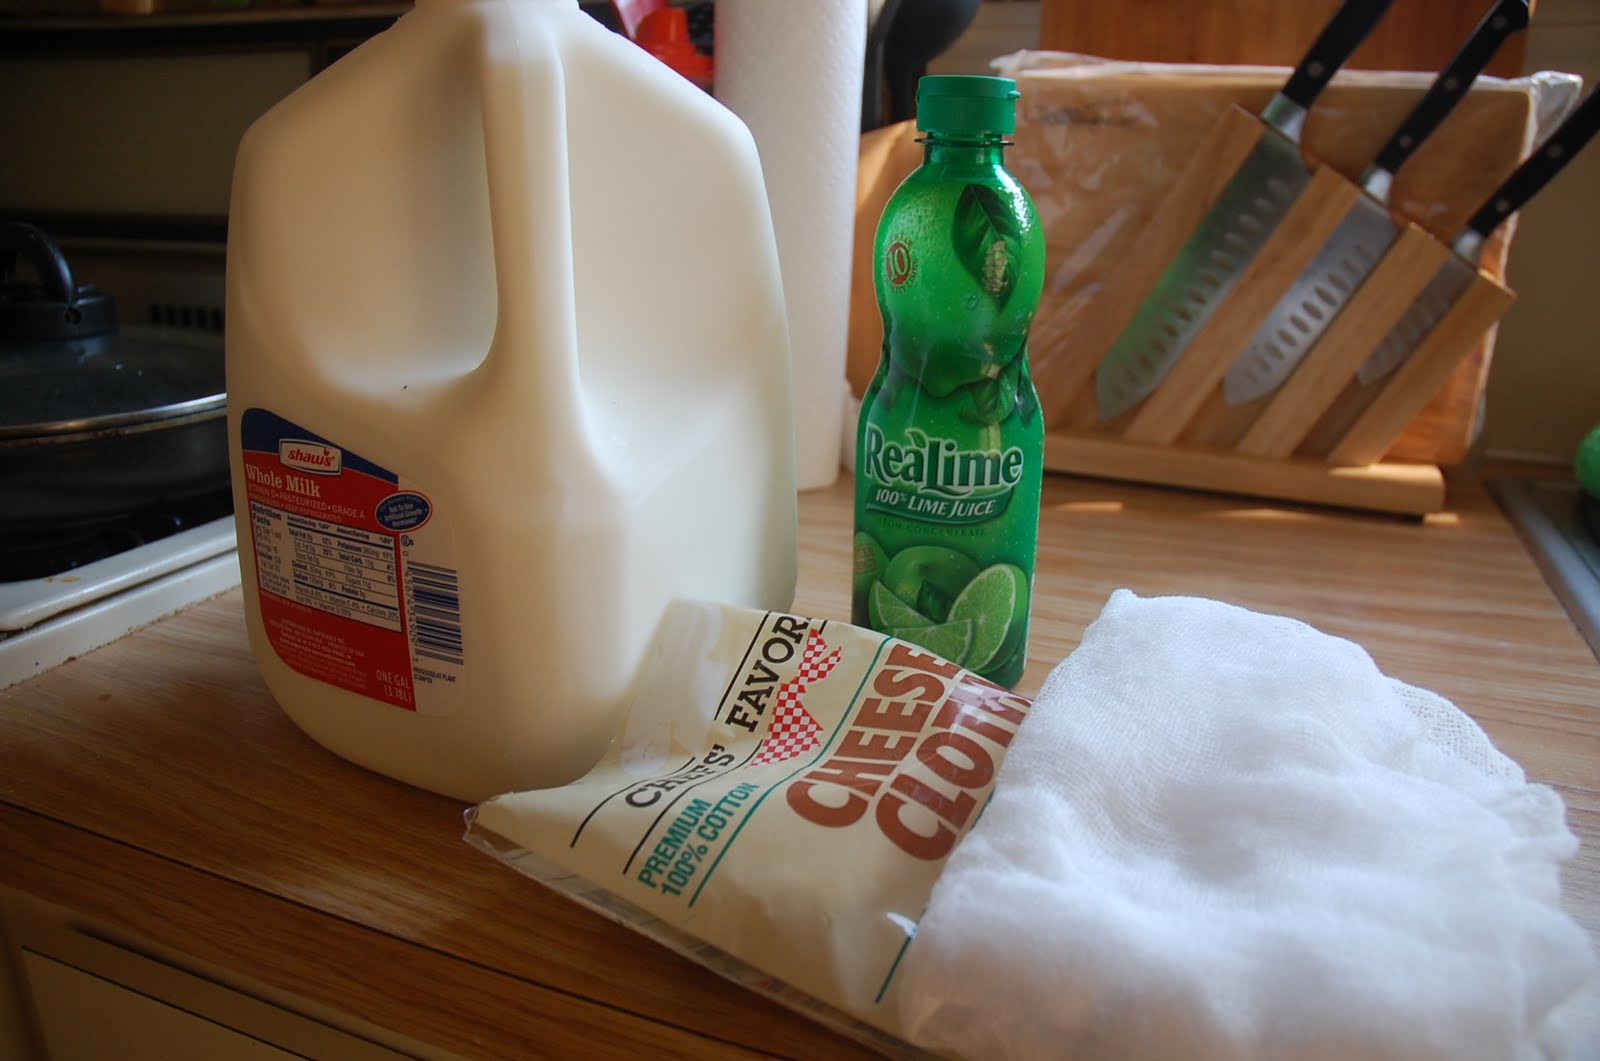
Whole Milk : 1 gallon (around 16 cups of milk)
Lemon (Lime) juice (concentrate) : 2/3 cup
Salt: 1/2 teaspoon
Equipments/Accessories needed:
- Cheese cloth for sieving/straining the paneer from the whey
- 2 deep wide and deep bottom vessel which can hold more than 16 cups of milk (one for boiling milk and the other for collecting the whey)
Method:
- Bring the milk to boil in a deep wide vessel (preferably non stick) while continuing to stir the milk

- Add the Lemon juice and stir while adding it. Lower the fire once completely added.

- Add more lemon juice if the milk has not curdled well. You can verify this when you see the light greenish color water well separated from the curdled milk solids.
- Switch off the fire and let it sit for a few minutes (3-4 minutes)
- Meanwhile prepare the cheesecloth on the second deep and wide vessel for straining the milk solids from the whey. The whey is a multipurpose stock which can be used in gravies, and soups. Its not compulsory to collect the whey, its up to you. I tied a rubber band around the cheesecloth binding it around the collecting vessel so that the cheesecloth doesn't collapse inside the vessel when we pour the mixture to be strained. I forgot to click that picture. I am sorry I missed it.

- After all the contents in the first vessel is completely poured in the cheesecloth, gather the ends of the cheesecloth and hold them above the vessel which has the whey and squeeze to drain out the excess whey.
- Now tie the ends or wrap the ends of the cheesecloth holding the curdled milk solids around the tap of your kitchen sink. The aim is to drain the whey using gravity of the solids on the cheesecloth when its suspended from a fixed source (in technical terms :-DD ). You may use any similar set up for straining. Leave on this way for 45 minutes.

- Now unwrap the cheesecloth. You should get a beautiful ball of paneer which has to undergo one more step, well, can be two more if you want spiced paneer. At this point , transfer the paneer to a dry bowl. Crumble the paneer using your hand. It need not be crumbled too much, just enough to evenly spread the seasoning: that is salt. You may add other seasoning such as cumin seeds. Add the seasoning, and knead well to get a smooth dough. (Hetal gives a tip that, at this point, along with salt if 1 tablespoon All purpose flour or Maida is added to the Paneer and kneaded, the resulting paneer would have a firmer texture and will not crumble when added to curries or grilled using skewers. I forgot to add the All purpose flour, but you may try it using this method).


- Tran fer the ball to the cheesecloth and wrap the cheesecloth with nice clean folding steps (so as to prevent the paneer from getting wrinkle marks from the cheesecloth wraps). Place some type of weight on the paneer and keep this for 2 hours.

- After two hours, you may cut the paneer into desired shapes and freeze it if you are not going to use it for next few days. You may also refrigerate it , if you are planning to use it in next few days. But to refrigerate, Anuja explains that paneer has to be stored the same way Tofu is stored, that is in water and changing water everyday. This did not work well for me in the refrigerator as the paneer started crumbling. Hence this time I decided to grill it and store it without water in the refrigerator.

To grill Paneer:
--------------
Tips: Do not use a aluminium foil while trying to grill in Toaster oven. I learned the hard way that, even though the foil was well greased, the paneer stuck to it in no time during the few minutes it was inside the oven. I ended up removing portions of whole paneer cubes as they were sticking.
The one fool proof way to grill paneer is to use a non-stick grill . I didn't have to keep brushing oil every time.

And with the grill I used (George Foreman lean mean grilling machine which is an Indoor grill) the paneer never stuck. And they got beautiful grill marks too (I grilled for 2-3 minutes max. Yayy :) You may store these in a air tight container in the refrigerator or freeze it. These can be used this way in curries.

I hope you would all try this.
Love
Roopa


11 comments:
Wonderful post dear.. Thanks for sharing.. lovely pics too..
I like the idea of using non stick grill for frying paneer. Nice post sweets.
nice thanks for ur detail recipe
Love the grilled paneer...wait for your paneer recipes now :)
Perfectly done roopa, home made paneer is really the best in taste and loved the grilled paneer as well
oh yum! that looks great!
Hey thanku so much for the comment in my blog Roopa....This paneer is really good....i loved the pics and the way u presented it step wise... i have never tried it like this....too good...
Perfect step by step pictures.... Very useful...
I was so pleased with myself the first few times I made paneer. I have always wanted to flavour the paneer but have been unclear when to add the flavour - spice or herbs but thanks to your demo and explanation, I now know.
Great job on illustrating.
nice step by step explanation..looks soo tempting those grilled one..yummmmmmm
Cynthia, I was surprised to know that Paneer could be seasoned too...I am glad I could make paneer this way now. it adds a nice flavor.
Post a Comment